

4. The Dreamer

Today on the blog, I will share my creative process for making my illustration ‘The Dreamer’. This illustration was created for T2 Agency for their 2021-2022 Catalog. I knew I wanted to spend a lot of time thinking of a narrative piece, that had some classic JB magic to it and a load of texture for good measure. As this piece was for an important brief, it required some creative feedback from the agency which proved very helpful! Enjoy the creative rambles and nonsensical scribbles!
The Line (brief).
Create a narrative illustration that best showcases your style and talent (no pressure JB!)
These are the things I wanted;
A sense of magic and imagination
Positive self-expression
Colour contrast between bright and duller tones
Texture!
Cute animals or dogs or something!
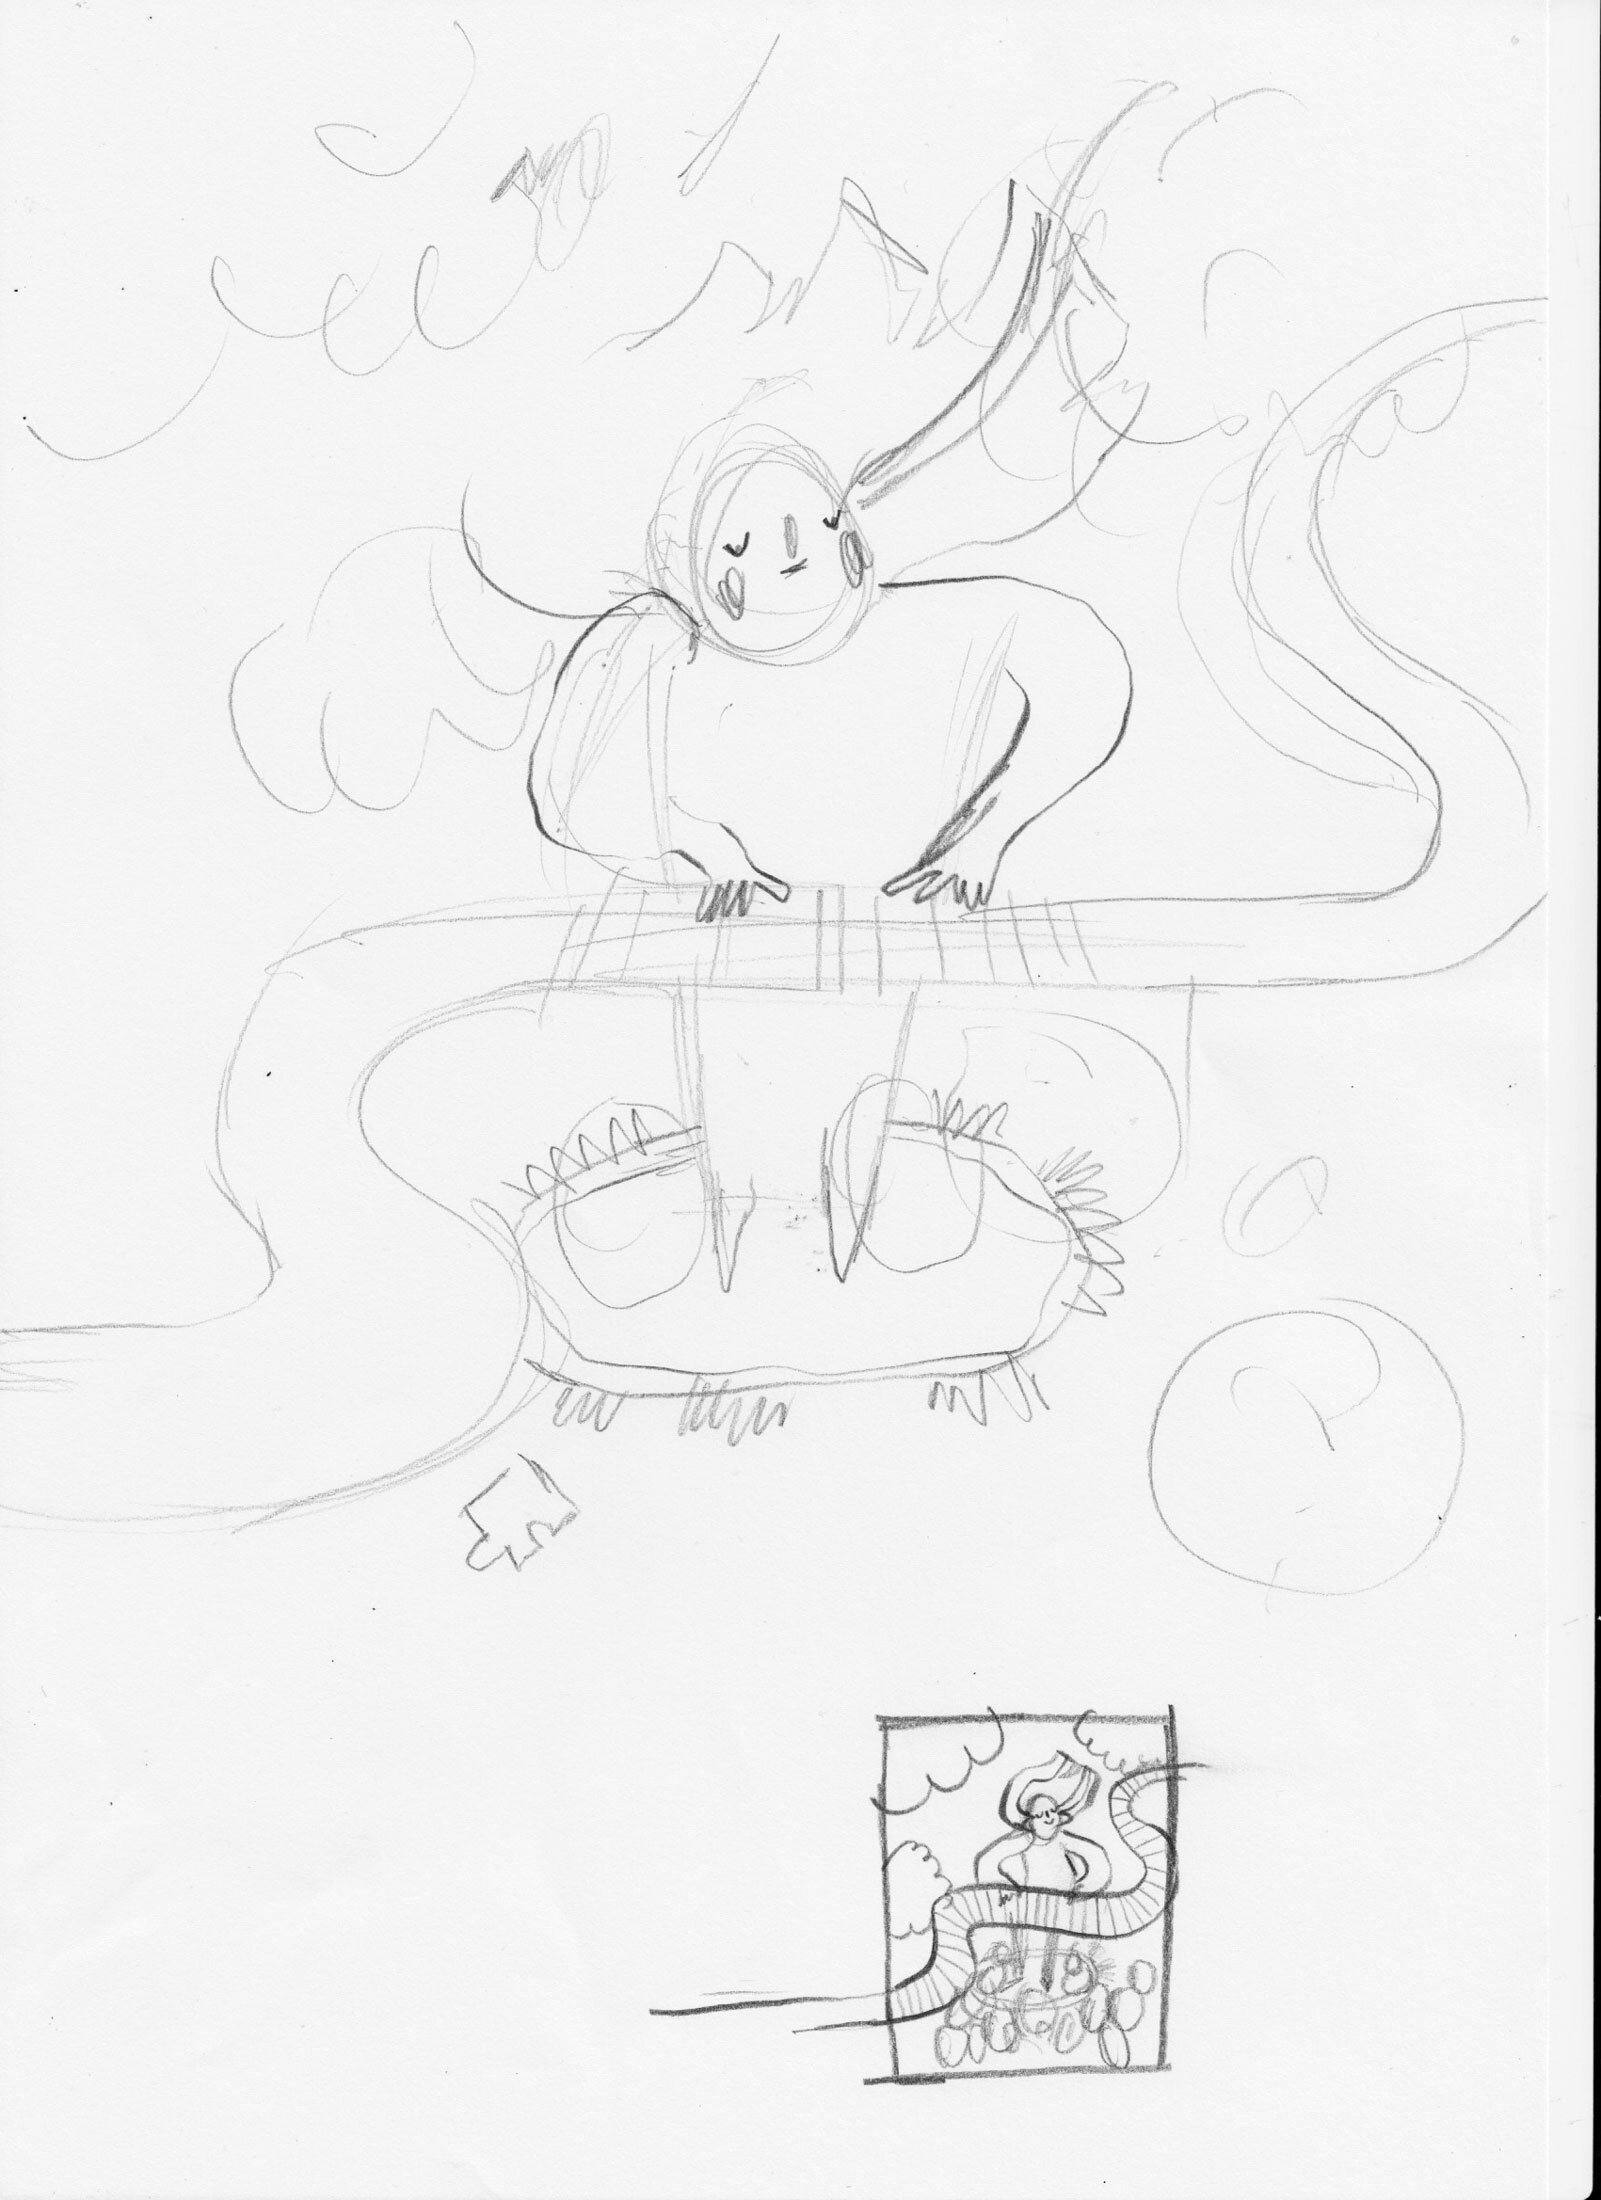
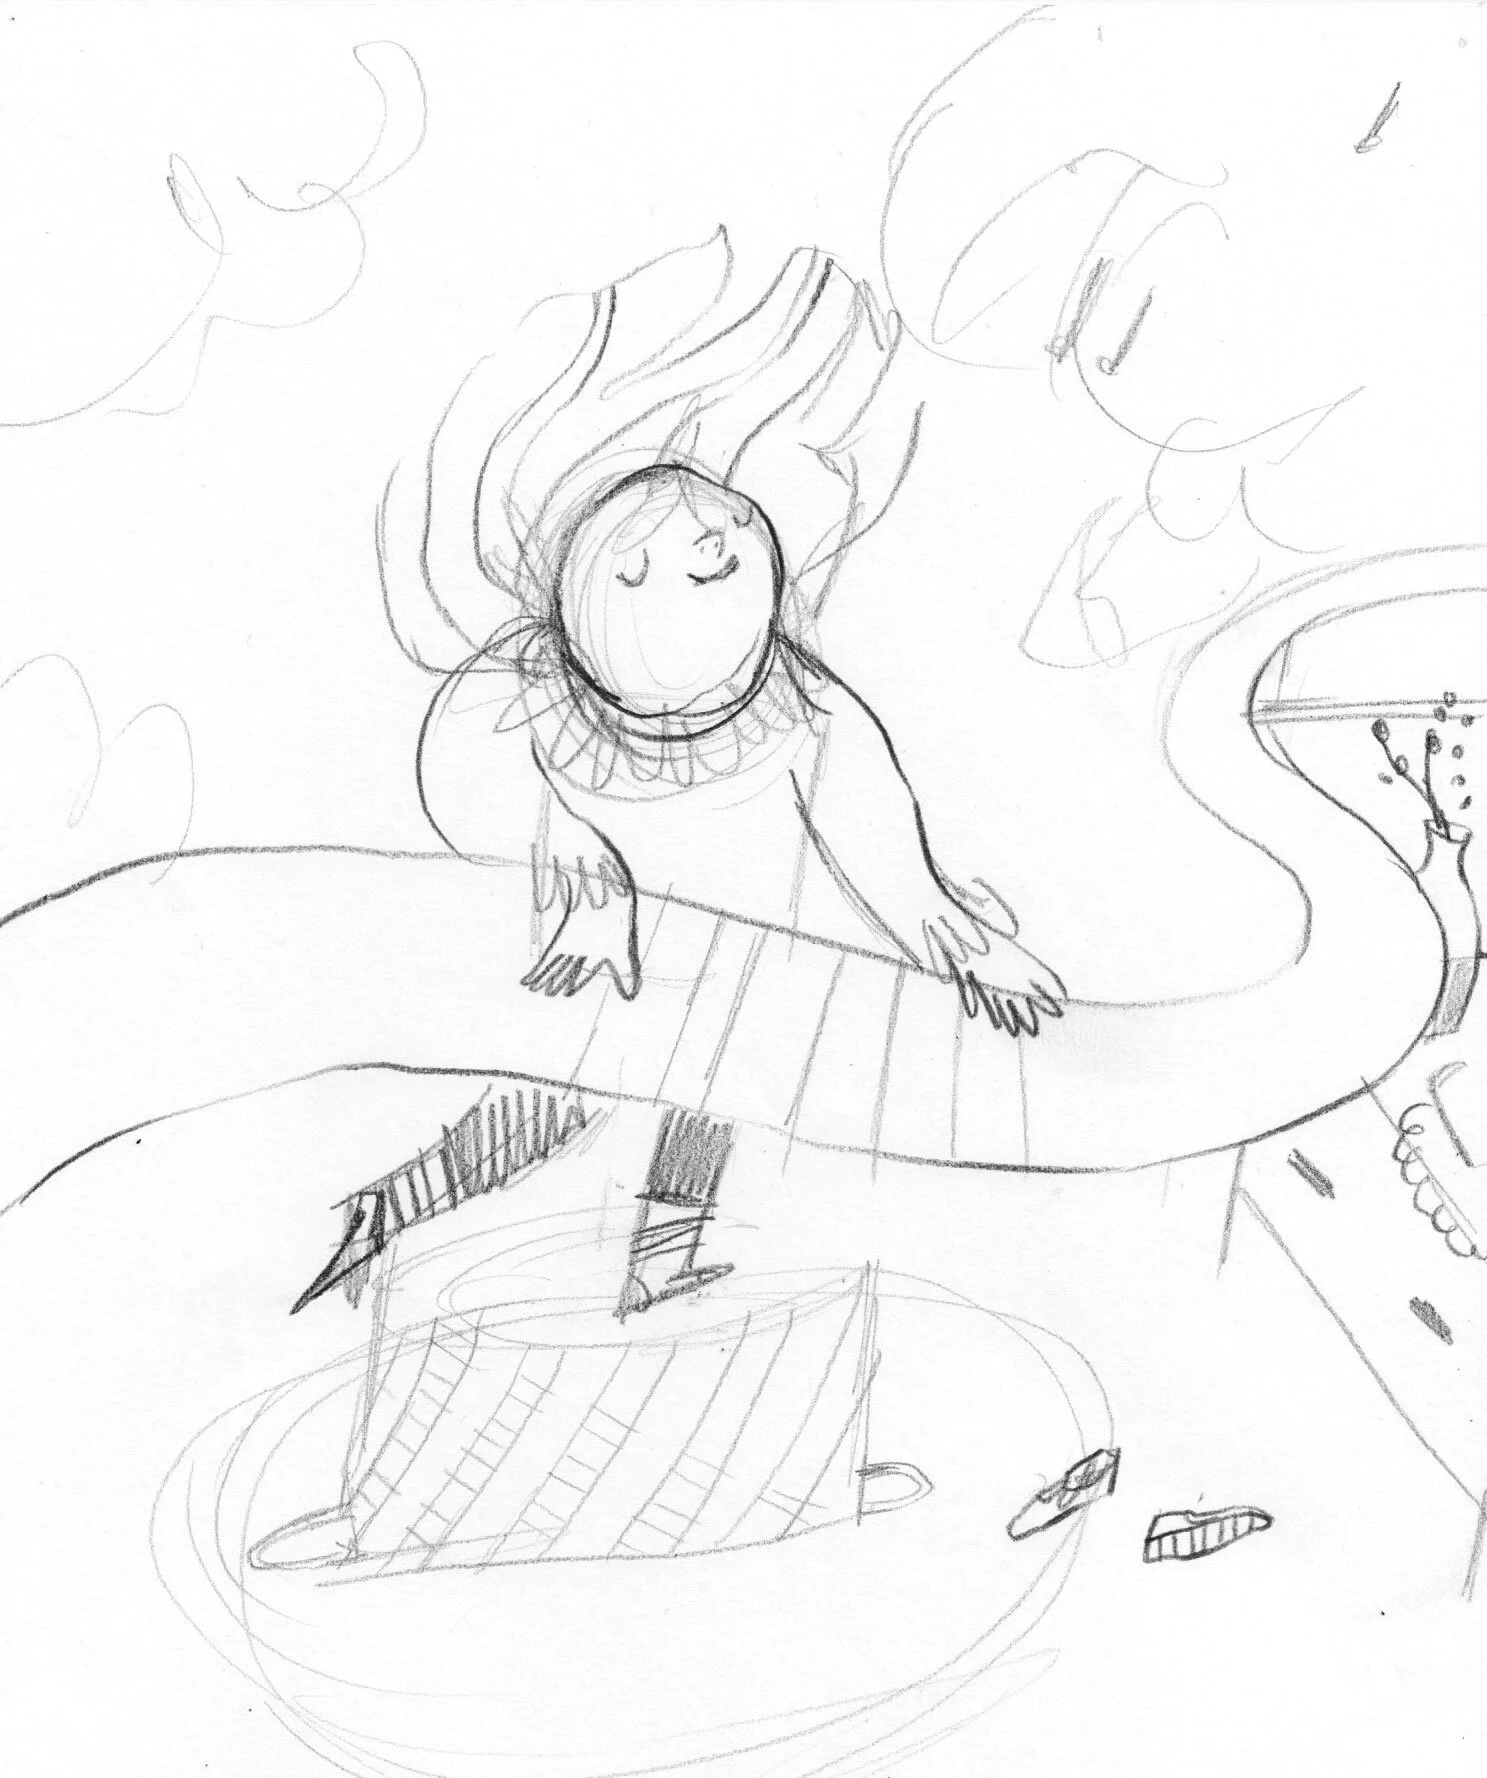
The Wobbly Lines (Sketches).
And the sketches begin! I have a little story stored in my brain about a daydreaming middle child with a big imagination - no guesses as to who I’m referring to.. cough me cough. In this story a magical piano in the sky is imagined, played to an audience of dogs. What better to test this idea out for the catalog! I sketched a human playing a magical piano in the clouds, lifted with the joy of the sound…and also a lot of dog bums which I cut and paste into place on photoshop.

Cut & paste composition made on photoshop from scanned sketches

Doggo bums (& a rabbit)
I sent this sketch, and 2 others (of different themes) off to Nicole at T2 who picked the magical piano! Great! My feedback;
Good dynamics, attractive, unique & great concept with the piano
Create a less imaginative scene by having part of the illustration rooted in a reality
The bottom of the illustration could look like a play room - subtle hints could get us there
Perfect feedback for this abstract brain and really kept me on track. Without rooting some element in reality this piece ran the risk of having no understandable narration, more just - what the hell is going on? Back to the graphite stick and printer paper!
Using a rug as the stage?

Stick with dogs? Or change to a variety of toys? Also, do I need more height to give the idea of a stage?..
An upside down laundry basket? Perfect. Now practise toys & play with composition…
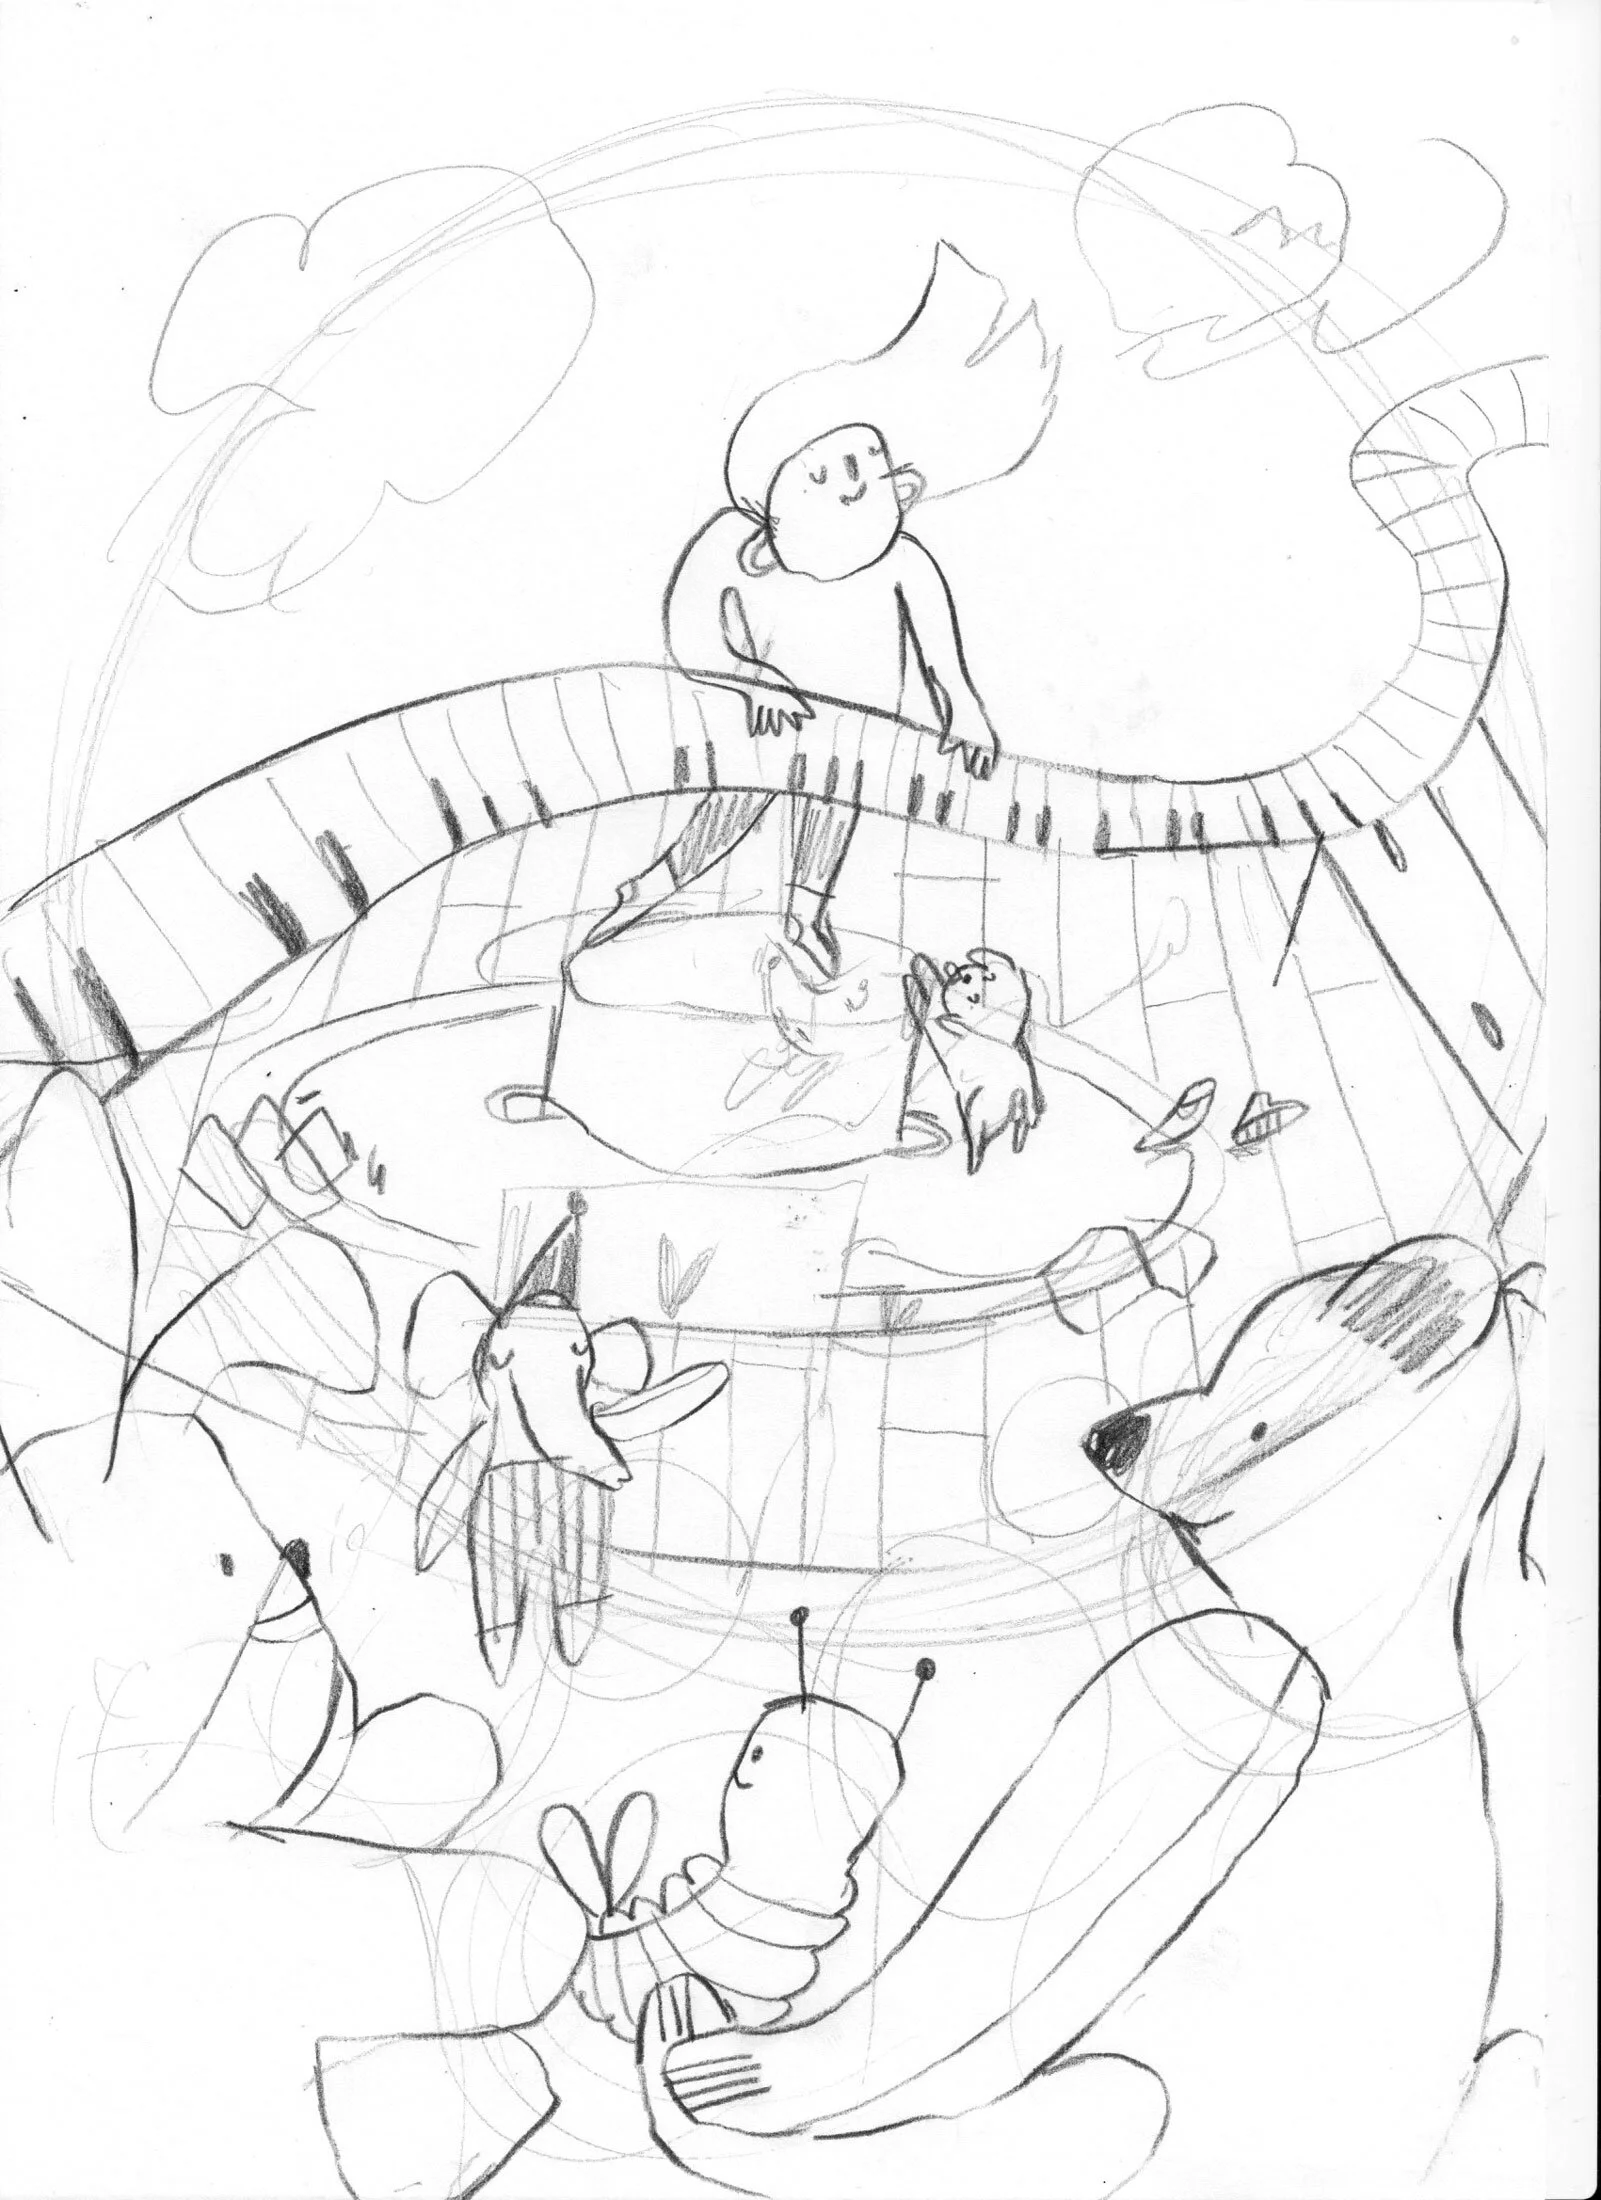
Composition is there! Now I just need to refine the character & practise some more toys…

Here they are! I always know when I’ve met the character I am going to paint, and this is when mine appeared out of my pencil. (Pssst, apologies if you thought that dog hair on the scanned sketch above was on your screen, I’ve gone to wipe it away every time).

One of MANY pages of toy practise (it became addictive). I knew I loved the teddy top left, the alien top right and the toy dog I’d reused from my dog sketches. Using a lightbox I traced around all the bits I loved and…

Voila! Final sketch complete. I sent this for feedback and got the go ahead to start the painted final.
The Messy Bit (Painting).
There was a lot of detail in this piece so I needed a guide to keep me on track. Instead of drawing it all out again, I taped a printed sketch to the back of my paper, then placed the paper on top of a lightbox. This shone all the lines onto the paper and meant I knew (slightly) where I was painting.

When it comes to JB painting, as you might be used to by now, I usually start a final piece and get all of the colours wrong and have to start again. This exact thing happened here, probably (definitely) because I was too eager and excited and didn’t want to do any paint swatches.

Colours too muddy, and using a combination of watercolour & gouache wasn’t working. Time to test out some colours swatches before attempting again..

This was me trying to find the right blue for the sky, but none of my trusty cool blues were working. I used gouache, watercolour and even crayon in parts. No, no, no, not the one. What other blues do I have?

Now these clouds are much better! Simple negative painting, using one watercolour in varying thickness/pigment. I also used this piece to create the rest of the palette, warm, rusty, antique colours. I played around with a grandma style pattern for the rug (no shade on grandmas, I love this) and used the same aged browns in the bear. I used this piece of paper as my palette in the end, because I couldn’t be bothered to clean mine.

In keeping with the antique colour palette, I gave the whole piece of paper a wash. I intentionally kept the central character space lighter to keep the focus on them, while darkening up the corners for a vignette feel. By adding layers over a wash like this, you can ensure you have some darker & lighter areas without too much fiddling at the end. I wanted the clouds to be done first as this was a background layer which the character would be in front of.

I’m awful at taking pictures as I go so there’s a big leap to this one. I wanted to focus on getting the character first and the main toys. I do this because painting and drawing takes time, and if I was to leave the hardest/most important bits until the end and make a mistake, I’d be heartbroken (it’s happened many a time!). I jump around from area to area when I’m painting/drawing and often wish I was somebody who worked methodically with more intention and insight. But then I remember, my creative brain is a bouncy old thing and letting it jump around brings work that is authentically JB.
Building up texture in this piece was created through;
The background wash
Thin layers of watercolour on the individual elements (toys, character, etc)
Working over the dried watercolour with a mixture of crayon and pencil
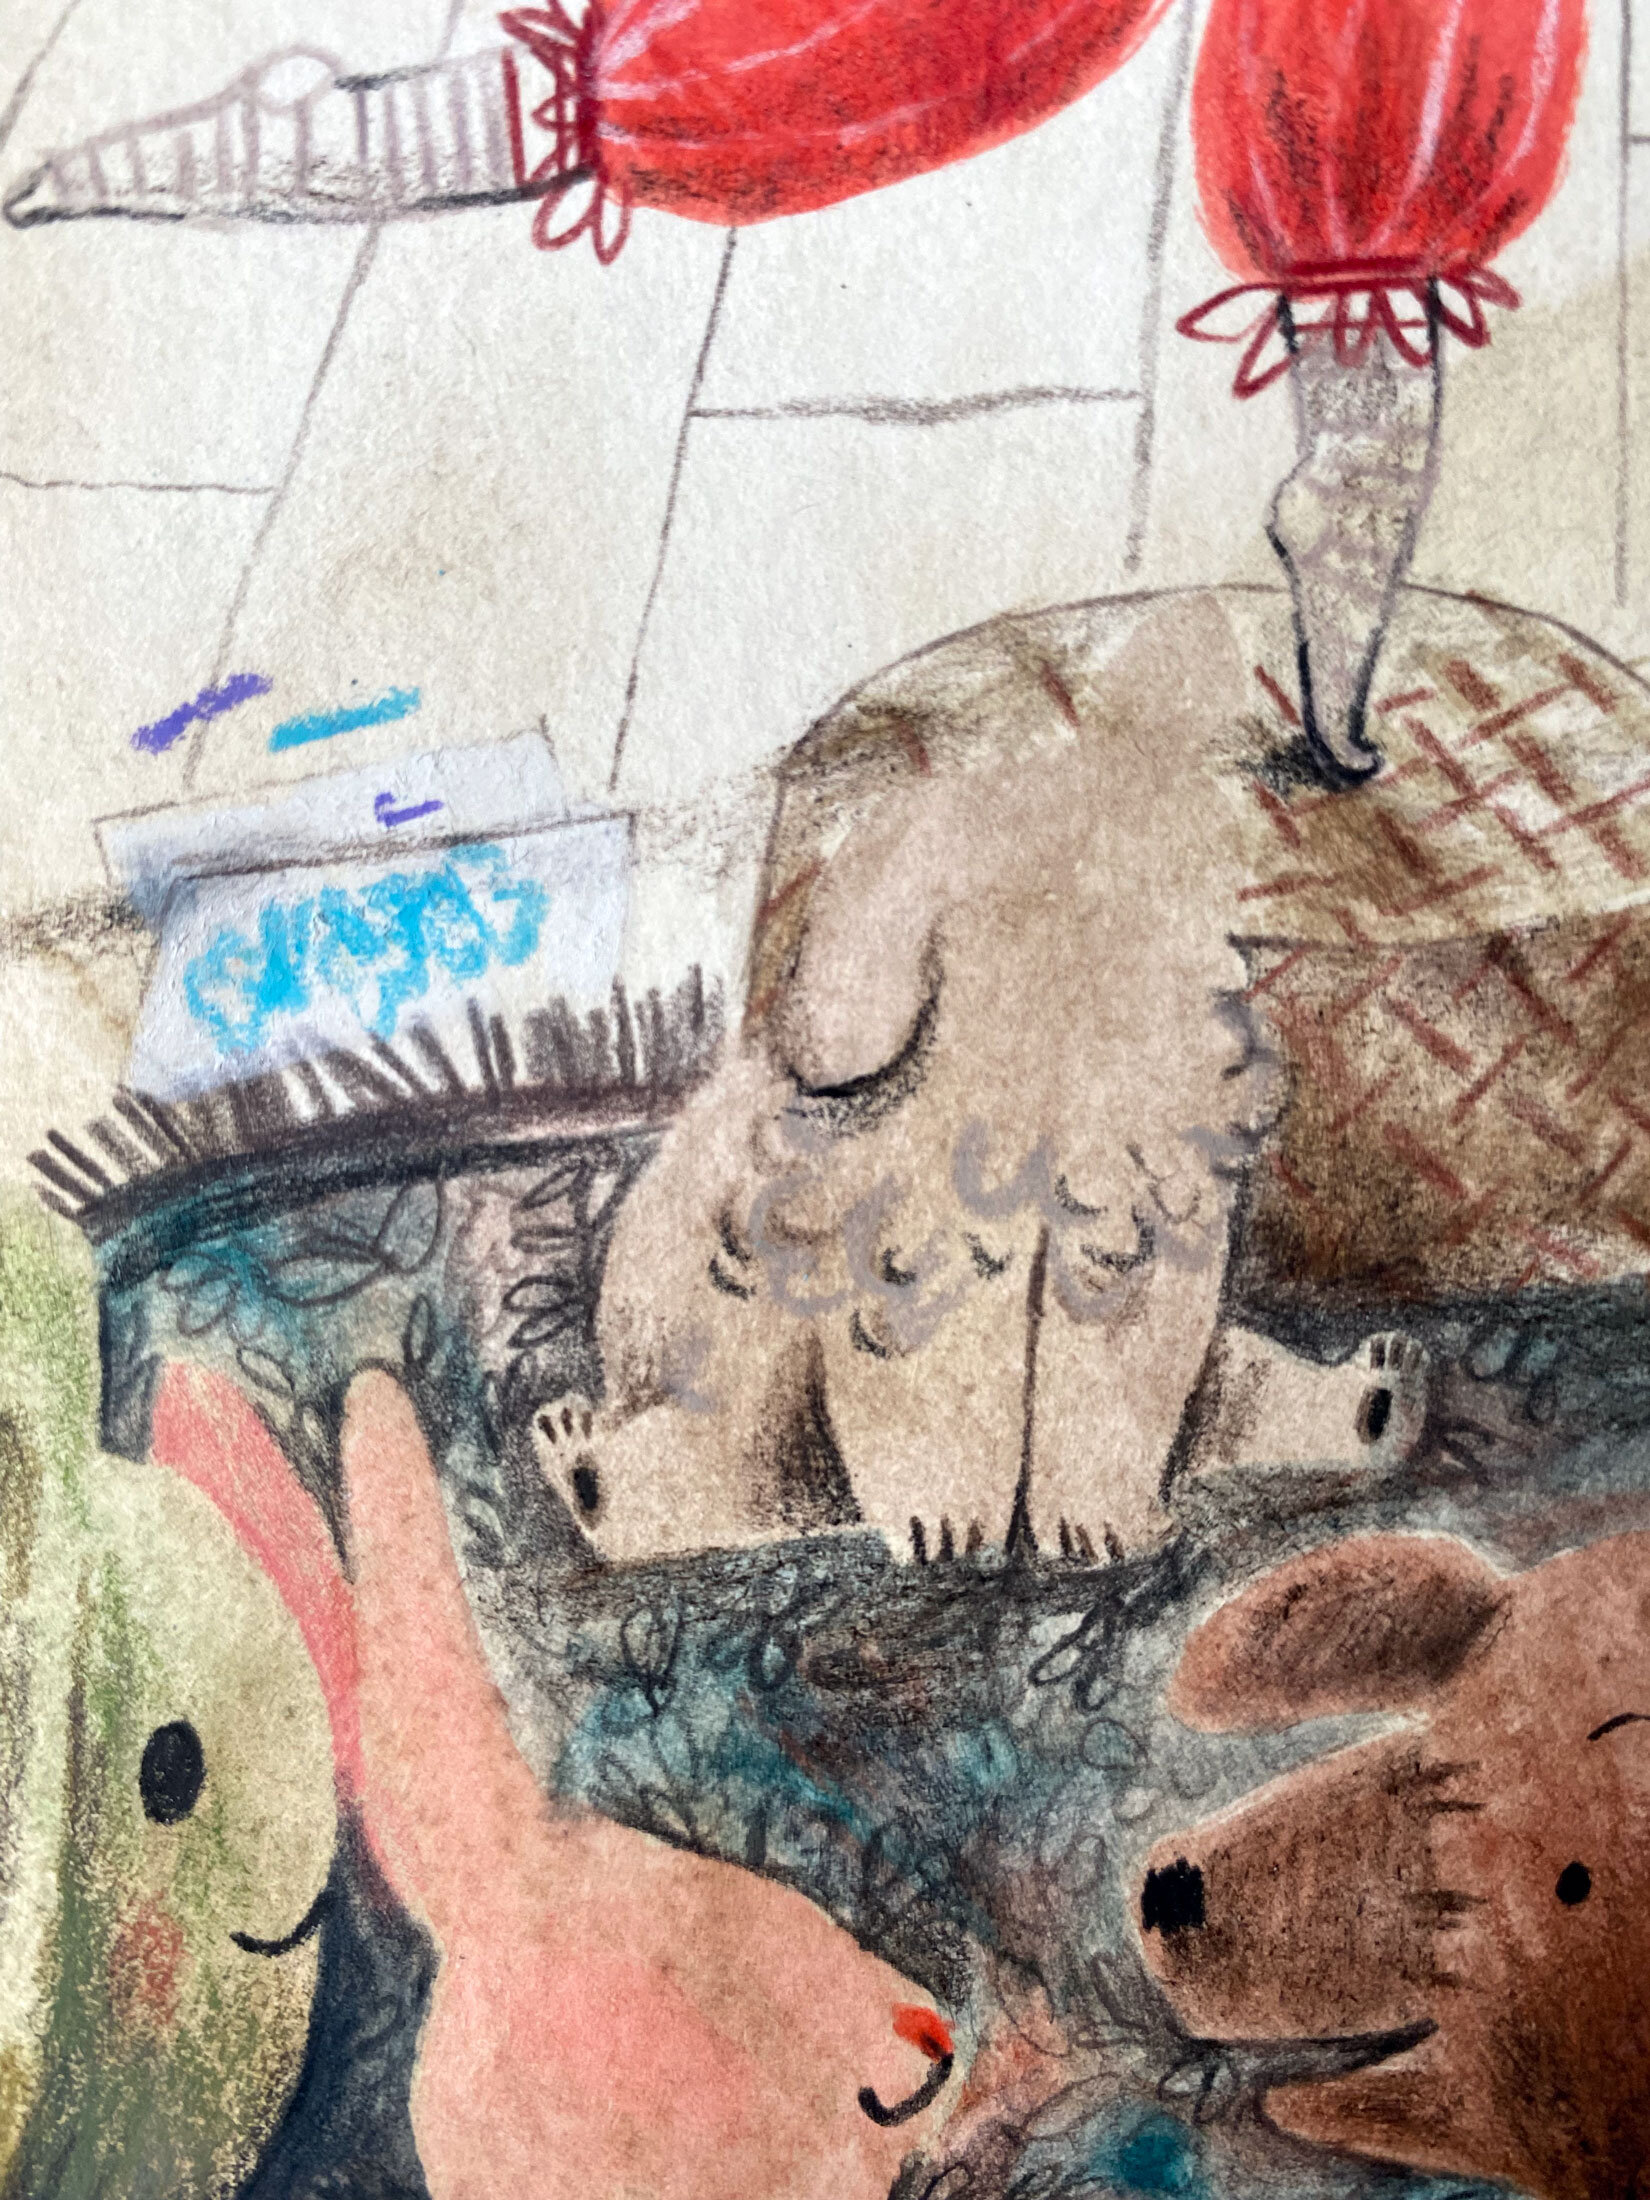
Creepy faceless dog (that turned out to be one of the cutest things I’ve ever drawn).

And done! Next, I scanned it in and did some basic photoshop editing. This required only a few changes to keep the colours accurate and bring out the best of the painting. I also used the spot healing brush to hide the inevitable dog hairs that ended up in the painting.
And that’s the long tale of how this illustration came to life. To see the full edited image and some crop images of the details, click here.
Thank you for getting this far if you did, or just looking at the pictures (which is what I usually do). It’s a joy to be able to share my process, as much as I love the privacy of painting it can get lonely sometimes. Until next time my fellow creatives!
Big love,
JB